For a quick introduction to the E-Invoice Creator add-on, please follow the steps below to open and create e-invoices via the add-on:

Open the Add-on
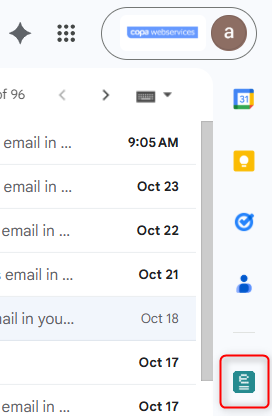
f you have already installed the add-on via the Google Workspace Marketplace, you can open the E-Invoice Creator Add-on directly from Gmail, Google Drive, or Google Sheets. By clicking on the E-Invoice Creator icon listed on the right side of the screen, you can open the add-on at any time. The add-on essentially distinguishes between two main functionalities:
- Opening and Viewing of E-Invoices from Gmail and Drive
- Creation of E-Invoices in Google Sheets
Opening E-Invoices
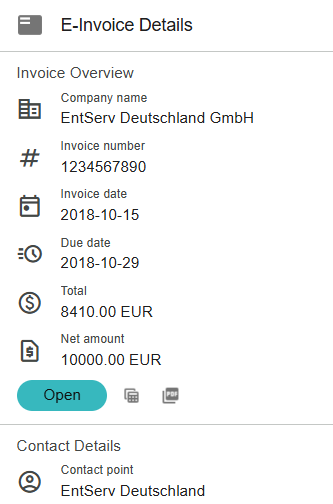
The E-Invoice Creator add-on can open e-invoices attached in Gmail as well as e-invoices stored in Google Drive. As soon as you have opened the add-on, simply open the email with the attached e-invoice. Alternatively, select the stored e-invoice in Google Drive. The add-on will then automatically read the contents of the selected e-invoice and automatically provide you with an initial overview of the invoice’s contents
IMPORTANT: Our Viewer can generally display e-invoices in both XML and PDF format. For our Viewer to open an e-invoice, it must be compliant with the e-invoicing standards XRechnung (UBL / CII), FacturX, or ZUGFeRD. If this is not the case, you will receive a message stating that the currently selected file is not an e-invoice.
From this view, you can perform further actions:
- Using the Open button, you start our E-Invoice Viewer. It displays all contents of the e-invoice in a separate view.
- By clicking on the „Export to Google Sheets“ icon directly to the right of it, you can export the contents to Google Sheets.
- Saving the e-invoice contents as a PDF is also possible in our Premium version of the add-on. To do this, simply click the „Save as PDF“ icon.
Open E-Invoice Details via the Viewer
As soon as you have clicked the Open button, the Viewer opens in a new browser tab and displays all the contents of the opened e-invoice.
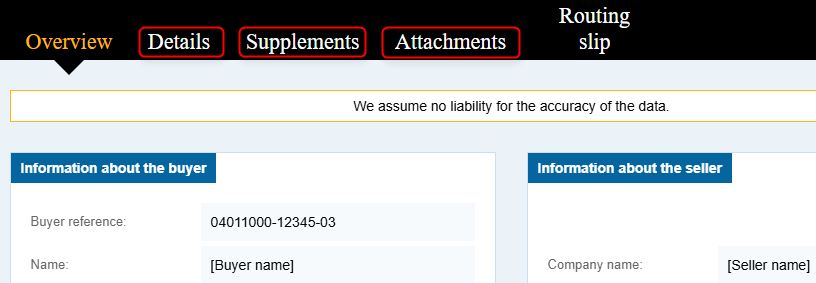
Note that the Viewer divides the contents into several sections. Simply click on one of the other sections in the black menu bar – ‚Details, Supplements, Attachments…‘ – to view possible additional information of the e-invoice.
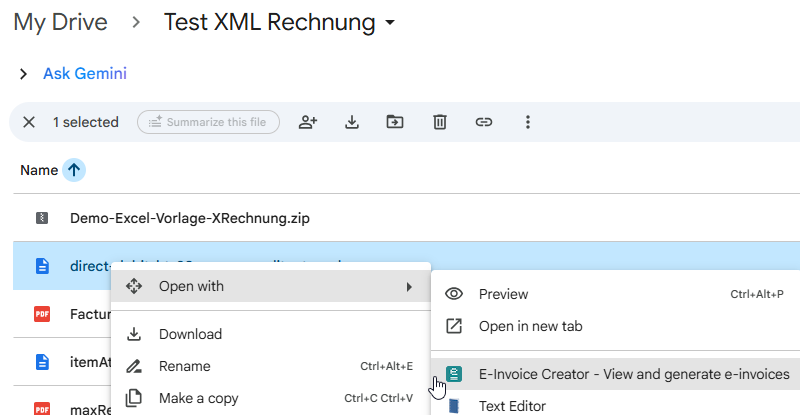
You can also start the Viewer directly via the context menu in Google Drive. Simply right-click on an e-invoice stored in Google Drive. Then open the Viewer directly via: ‚Open with –> E-Invoice Creator‘ as shown in the following image
E-Invoice Creation
With the E-Invoice Creator, you can easily create e-invoices based on Google Sheets! To do this, simply open the add-on from within a Google Sheet. You should then see the central overview for creating e-invoices as shown on the right.
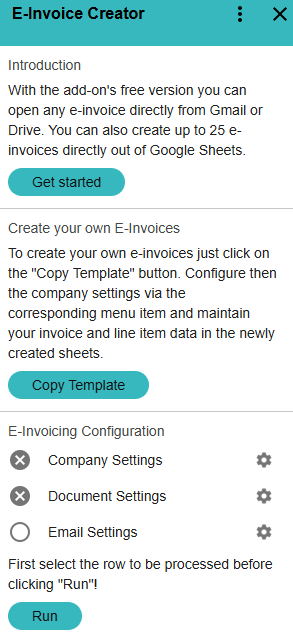
Then, execute the following steps:
- Copy the Invoice Template
- Configure Company Settings
- Maintain Your Invoice Data based on the Template
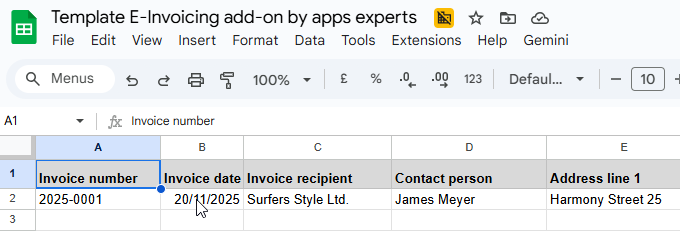
Copy the Invoice Template
By clicking the corresponding button „Copy Template“, you copy the invoice template. After the copying process is complete, the new sheets ‚Invoice Data‘, ‚Position Data‘ (Line Item Data), and ‚Quick Start Guide‘ should be available in your Google Sheet. Please note that the template is available in German and English. The template will be copied based on the language you have set in your user settings.
Configure Company Settings
For invoice creation, you must also configure the menu item Company Settings once for your company. Essentially, in this view, you specify the general settings for your company that are valid for every invoice. All fields marked with an * are mandatory fields.
Maintain Invoice Data
Before you can start the processing, you only need to maintain your invoice and position data according to the copied spreadsheet template. Please note that the bold table headers, such as Invoice Number, Invoice Date, Contact Person, etc., are all mandatory fields and must be maintained, as otherwise, the creation of a standard-compliant e-invoice is not possible!
Start Processing

Provided you have entered the necessary information in the Company Settings and provided details for a new invoice in a new row in the Invoice Data and Position Data sheets, you can start the processing for this new entry. To do this, select this row in the ‚Invoice Data‘ sheet and then start the processing via the Start button!
Please note that when starting the processing via the Start button, only one row is processed at a time! To process multiple rows simultaneously, please use our Batch Processing feature.
After the processing is complete, you will see a corresponding message, and a link to the created e-invoice will also be inserted in the Status column. This allows you to open it directly!
You can access the complete user manual with all the details about the E-Invoice Creator Add-on via the following link: Manual E-Invoice Creator